FREE standard shipping on all Australian orders $100+
-
Shop By
-
Adhesives
-
Cardstock & Paper
-
Craft Tools
-
Die Cutting
-
Embellishments
-
Hot Foiling
-
Ink Pads and Re-inkers
-
Magazines
-
Markers, Pens and Pencils
-
Mixed Media
-
Alcohol Ink
-
Alcohol Ink Surfaces/Blending Cardstock
-
Alcohol Ink Tools

- Brusho Crystal Colour
- Brusho SprinkleIT
- Gel Printing Plates
-
Inks
-
Markers, Pens, Pencils & Crayons

- Mica Powders
-
Mixed Media Tools

-
Paints
-
Paint Tools & Surfaces

-
Pastes, Glazes and Mediums

-
Sprays, Stains and Mists

-
Watercolour Brush Markers

-
Watercolour Cardstock/Paper
-
Watercolour Paints

-
-
Other Crafts
-
BetterPress System & Press Plates
-
Stamping
-
Stencils & Embossing
-
Storage
-
-
New Arrivals
-
Stamping
-
Stamps
-
Ink Pads and Re-inkers
-
Altenew Ink Pads & Re-inkers
-
Couture Creations Ink Pads & Re-inkers
-
Embossing Inks & Pens
-
Hero Arts Inks & Re-inkers

-
Lawn Fawn Ink Pads & Re-inkers
-
Spellbinders BetterPress Ink Pads and Re-inkers
-
Tim Holtz Distress Ink Pads & Re-inkers
-
Tim Holtz Distress Oxide Ink Pads & Re-inkers

-
Tsukineko Ink Pads & Re-Inkers
-
-
Stamping Blocks, Platforms & Presses
-
-
Die Cutting
-
Press Plates & Hot Foiling
-
Stencils & Embossing
-
Cardstock & Paper
-
Supplies
-
Brands
-
Altenew

-
Buttons Galore and More

-
Colorado Craft Company
-
ColourMe
-
Couture Creations

-
Diamond Dotz

-
Fiskars

-
Gamblin
-
Gel Press
-
Gina K Designs
-
Hero Arts
-
House of Paper

-
i-Craft

-
Kaisercraft

-
Kuretake

-
Lawn Fawn

-
Mill Hill Beads

-
Mod Podge

-
My Favorite Things

-
My Sweet Petunia

-
Paper Rose

-
PenBlade

-
Pinkfresh Studio

-
Needleart World

-
Ranger Ink

-
Renoir
-
Sakura

-
Sew Easy Needlecraft
-
Sizzix

-
Spellbinders
-
Therm-O-Web

-
Tim Holtz

-
Tonic Studios

-
Totally Tiffany

-
Tsukineko

-
Uniquely Creative
-
Waffle Flower
-
Wendy Vecchi

-
We R Memory Keepers
-
Wink of Stella Glitter Brush

-
X-Press It

-
Zig Memory System

-
- Contact Us
Spellbinders - Layered Sunflower Stencil
Posted on October 08 2023
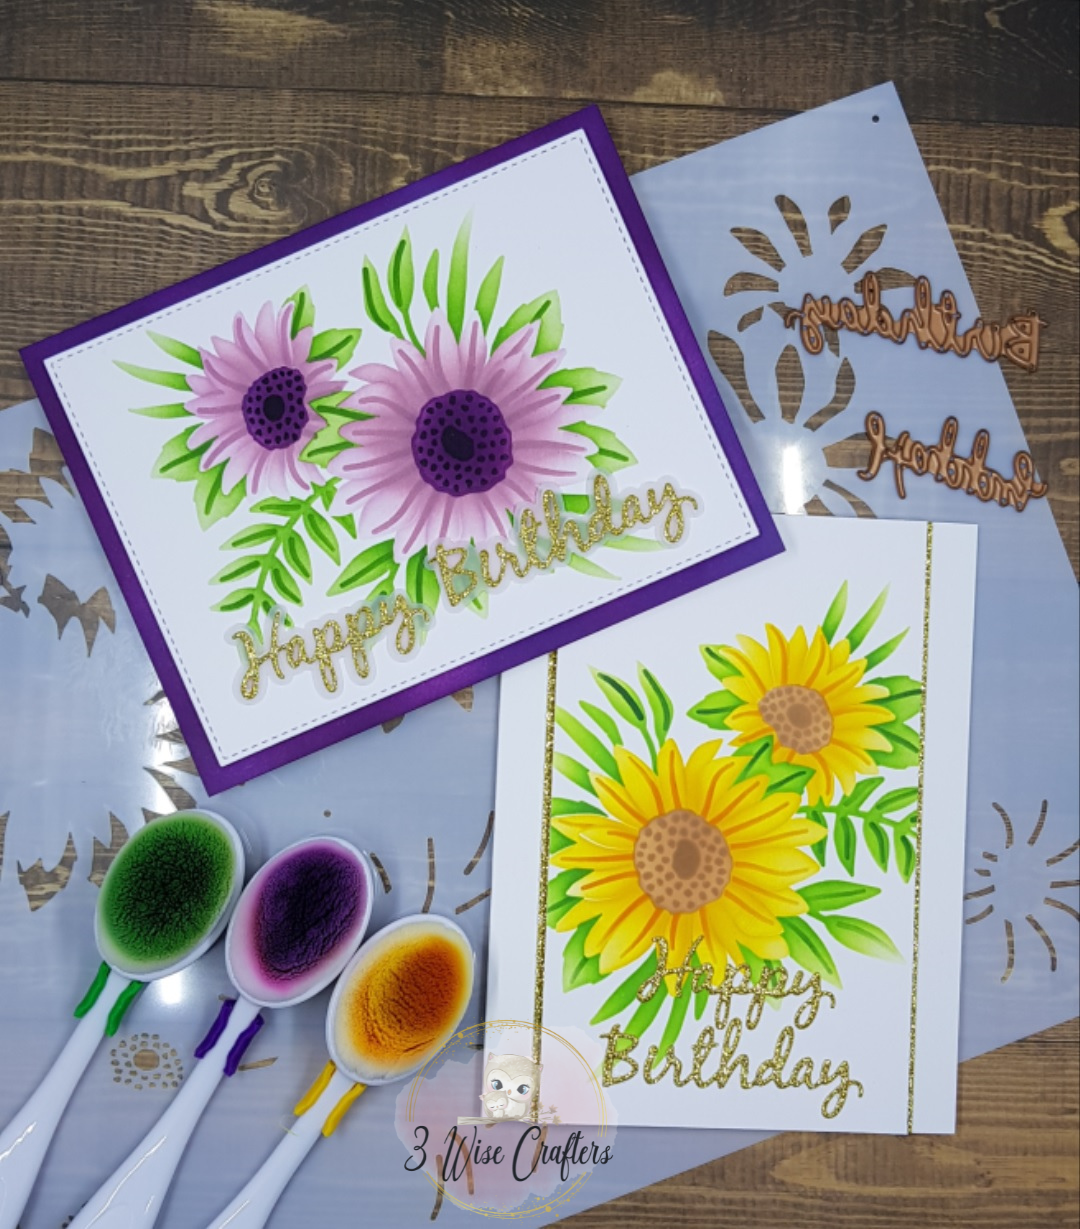

Hi everyone!! I just wanted to share a couple of cards that I made using the Layered Sunflower Stencil from Spellbinders. I apologise in advance for the colour of the purple card - it looks blue in the photo, but it really is purple.
What is the Layered Sunflower Stencil?
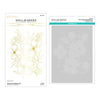
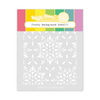
The Layered Sunflower Stencil from Spellbinders is a versatile tool that allows you to easily create beautiful sunflower designs on your cards. This stencil is perfect for adding colour and elegance to your handmade cards. Even though it is called "Layered Sunflower" Stencil, you can use any ink colours that you choose to make your own unique flowers.

What You'll Need
Before you start, gather the following materials:
- Spellbinders Layered Sunflower Stencil
- Spellbinders Birthday Wreath Add-Ons Dies
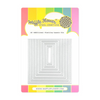
- Hero Arts Nesting Rectangle Infinity Dies
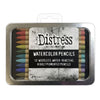
- Distress Ink Pads in various colors -
- Mustard Seed
- Spiced Marmalade
- Dried Marigold
- Mowed Lawn
- Twisted Citron
- Rustic Wilderness
- Tea Dye
- Milled Lavender
- Seedless Preserves
- Dusty Concord
- Black Soot
- Distress White Heavystock
- Glitter cardstock - Gold
- Vellum
- Blending Brushes
- Double Sided Tape
- Foam Tape
- Scissors
Step 1: Prepare Your Materials
Begin by cutting your cardstock to the size that you want for your card front. I used the same size card front for both cards to start with and I trimmed them later to the size that I wanted.
Die cut the sentiments that you want to use. For both cards I used the "Happy Birthday" sentiment from Spellbinder Birthday Wreath Add-Ons die set and die cut this out of gold glitter card stock. For the purple flower card, I also die cut the shadow layer out of vellum.

Step 2: Ink Blending
Take the Layered Sunflower Stencil and place it on top of your card panel. The stencil is 8.5" x 11" which contains six small stencil templates on it which is easily lined up with the register marks on the stencil.
I prefer to use Distress White Heavystock for all of my ink blending as I find that the finish tends to be more smooth and has an even coverage. To apply ink, I used a medium size blending brush. I have a blending brush for each colour family as this makes it easier for me to find the correct brush, and reduce the risk of contaminating my ink pads with other colour families.
For the purple flower card, I used Distress Ink Pads Milled Lavender, Seedless Preserves, Dusty Concord for the purple flowers, flower centres and card base; Mowed Lawn for the leaves; and Black Soot for the spots on the flower centre. To achieve the different shades of green on the leaves, I used different pressure with the blending brush. The purple flower centres and card base look blue in the photos, and I apologise for this. It may look different on your screen though.

For the yellow sunflower card, I used Distress Ink Pads Mustard Seed, Spiced Marmalade and Dried Marigold for the flowers; Twisted Citron, Mowed Lawn and Rustic Wilderness for the leaves, but I didn't really need to use Rustic Wilderness and it went on a bit dark for my liking. For the flower centres I used Tea Dye for both the flower centres and the dots.

Step 3: Finishing your cards
I die cut the purple flower card front using the Hero Arts Nesting Rectangle Infinity dies so that I had a border of purple showing on the card base. I then layered the "Happy Birthday" sentiment on the vellum shadow and glued it to the card front. I added foam tape to the back of the card front and stuck it to the purple card base.
For the yellow flower card, I trimmed the card front down using a paper trimmer, and glued gold glitter cardstock strips down each side for a bit of sparkle and shine to the card. Next, I glued the sentiment straight to the card and then I added foam tape to the back of the card front before I stuck it to the card base.

I hope that you like both of my cards and that you re-create your own. Remember, the possibilities are endless with this versatile stencil. Feel free to experiment with different colors, techniques, and embellishments to make each card unique.
Happy crafting
Gayle




















































1 comment
Judy Marion
Many thanks for the detailed instructions Gayle. They are most helpful.